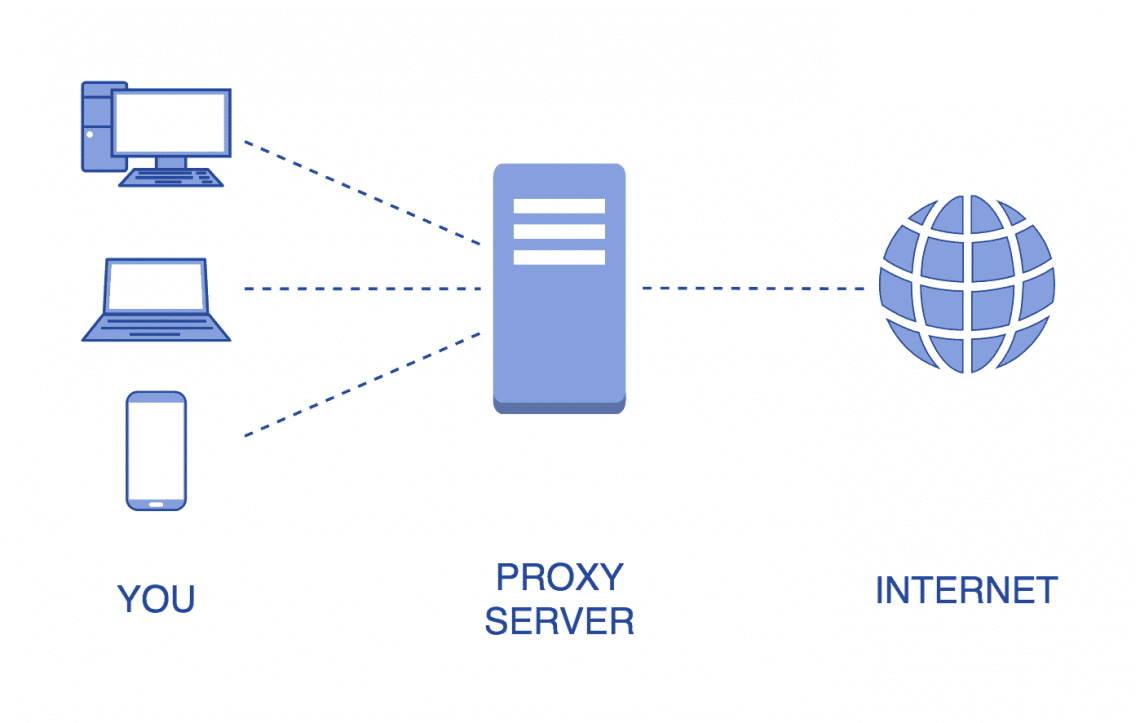
TTProxy is a high-quality proxy IP service provider. To use TTProxy services, just to finish the following 5 steps: sign up, purchase, add whitelist, obtain proxy IP, and integrate proxy IP.
Step 1: Sign up.
When you sign up, TTProxy will send an activation email to your mailbox, then you can activate the account as long as you sign in the mailbox.You can get 100MB FREE Traffic for testing if you sing up right now.
Step 2: Purchase.
After account activation, you can purchase the products you need in the Management Console of TTProxy.
Step 3: Add whitelist.
This step is very very very important !
After purchased the product, you have to add the public IP of the server which you will use the proxy on it to the whitelist. There are two ways to add your server ip to the whitelist: add it in the Management Console or by calling the API.
Step 4: Obtain proxy IP.
Once your server ip added to the whitelist, you can obtain the proxy IP. There are two ways to obtain the proxy IP: fixed URL and dynamic address.
If you choose fixed URL to obtain, enter the Management Console, Click 【Link】 in the 【Package(s)】 list to obtain the corresponding fixed obtain URL.
You can use the browser to open the obtain URL, then obtain the corresponding number of proxy IP. You can also request this URL in your program. For example, in a PHP project, you can use curl to request this URL to obtain the proxy IP.
Another way to obtain proxy ip is via dynamic address obtain.TTProxy provides a proxy IP obtain API based on HTTP protocol, which is convenient for different programming languages.
To call the obtain API to obtain the proxy IP, you need to provide the call signature, which is specified by the “sign” query parameter. The signature algorithm of “sign” is the lowercase signature string obtained by MD5 encryption of the spliced field string of 「license + time + secret」, Each of the products purchased has an independent “license” and “secret”, corresponding to the “license” parameter in the obtain API and the “secret” used in signature. (Important: the ip addresses in the obtained ip:port list belong to TTProxy central server, NOT the proxy node ip which finally communicate with the target server.)
Step 5: Integrate and use proxy IP.
After obtaining the proxy IP, you can integrate them into your program. (Note, the lifetime of proxy IP is limited. Remember to re-obtain and replace it). The following is an example of using a proxy for PHP program integration:
    // The target page to visit
    $targetUrl = "http://test.abuyun.com";

    // Assume that 218.75.158.150:15044 is a proxy IP that you obtained
    $proxyServer = "http://218.75.158.150:15044";

    $ch = curl_init();
    curl_setopt($ch, CURLOPT_URL, $targetUrl);

    curl_setopt($ch, CURLOPT_HTTPPROXYTUNNEL, false);
    curl_setopt($ch, CURLOPT_SSL_VERIFYPEER, false);

    // Setting up a proxy server
    curl_setopt($ch, CURLOPT_PROXYTYPE, CURLPROXY_HTTP);
    curl_setopt($ch, CURLOPT_PROXY, $proxyServer);

    curl_setopt($ch, CURLOPT_USERAGENT, "Mozilla/4.0 (compatible; MSIE 6.0; Windows NT 5.1; SV1; .NET CLR 2.0.50727;)");

    curl_setopt($ch, CURLOPT_CONNECTTIMEOUT, 3);
    curl_setopt($ch, CURLOPT_TIMEOUT, 5);

    curl_setopt($ch, CURLOPT_HEADER, true);
    curl_setopt($ch, CURLOPT_RETURNTRANSFER, true);

    $result = curl_exec($ch);

    curl_close($ch);

    var_dump($result);